This post may contain affiliate links, which means that if you choose to make a purchase through these links, I may earn a small commission at no additional cost to you. It is important to me to select products or services with care and I will only share those that I believe in and feel confident recommending.
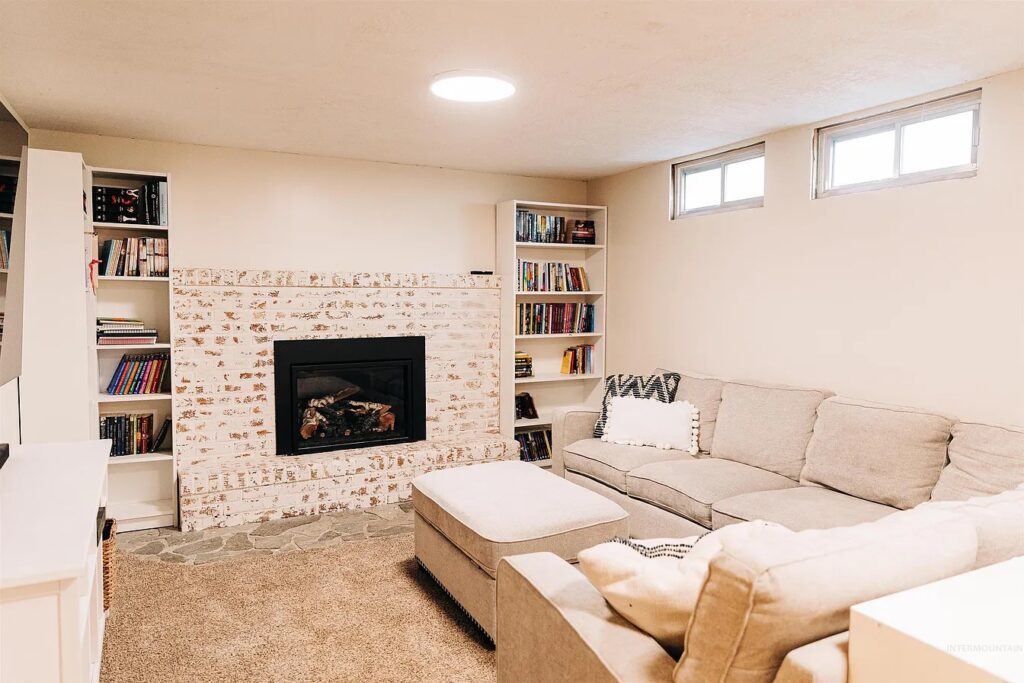
A fireplace can add a sense of charm and ambience to any room. If your looking to refinish an existing fireplace and give it more of a rustic elegance, the German schmear technique can work wonders. This unique method involves applying a textured, whitewashed mortar finish to your fireplace, creating a stunning focal point that exudes warmth and character. In this step-by-step tutorial, we will guide you through the process of completing a German schmear on your fireplace using a grout piping bag. Get ready to transform your space into a cozy haven.
Materials Needed:
- Grout piping bag
- Mortar mix (white or light gray)
- Water
- Plastic sheeting or drop cloth
- Painter’s tape
- Protective gloves
- Safety glasses
- Grout float
- Spray bottle filled with water
- Sponge or damp cloth
Step 1: Prepare the Fireplace
- Start by protecting the surrounding area with plastic sheeting or a drop cloth.
- Use painter’s tape to cover any areas you want to keep free from the mortar.
Step 2: Mix the Mortar
- Follow the instructions on the mortar mix package to create a smooth, creamy consistency.
- Add water gradually while stirring until you achieve the desired texture, similar to toothpaste.
Step 3: Load the Grout Piping Bag
- Fill the grout piping bag with the prepared mortar mix, leaving enough space to comfortably grip the bag.
- Twist the top of the bag to create pressure and ensure the mortar flows smoothly.
Step 4: Apply the Mortar
- Starting from the top of the fireplace, squeeze the mortar mix onto the surface in between the grooves of the bricks. Start with a layer approximately 1 inch thick, vary the thickness and coverage of the mortar to create an authentic, textured look. Apply the mortar to an area about 2ft x 2ft. Then…
Step 5: Spread and Smear
- Once you have applied the mortar, use your grout float to spread and smear it over the brick surface.
- Apply pressure and work the mortar into the nooks and crannies of the bricks for an aged appearance.
- If the mortar starts to dry too quickly, mist it with water using a spray bottle.
Step 6: Wipe off Excess Mortar
- Take a damp sponge or cloth and gently wipe off any excess mortar from the surface of the bricks.
- Be careful not to remove too much mortar, as the goal is to achieve a partially covered, weathered look.
Step 7: Allow to Dry
- Let the German schmear mortar dry according to the instructions provided with the mortar mix.
- This typically takes about 24 hours, but refer to the manufacturer’s guidelines for accurate drying time.
Step 8: Clean and Finish
- Once the mortar is completely dry, carefully remove the painter’s tape and clean up any remaining debris.
- Step back and admire your beautifully transformed fireplace with its stunning German schmear finish.
By following this step-by-step tutorial, you can create a textured, whitewashed mortar finish that adds character and warmth to your space. Get ready to cozy up to a fireplace that showcases the charm of old-world design.